
How To: Remove Paper Texture From a Scan
I LOVE watercolor, and I LOVE painting on textured papers. But I don’t love when that texture shows up as a distracting pattern in scans of my watercolor paintings. Scanning watercolors that have been painted on cold pressed or rough paper can be especially problematic. The good news is that I’ve recently discovered how to make those textures disappear and I’m sharing the magic below. Even more good news - it’s super simple!

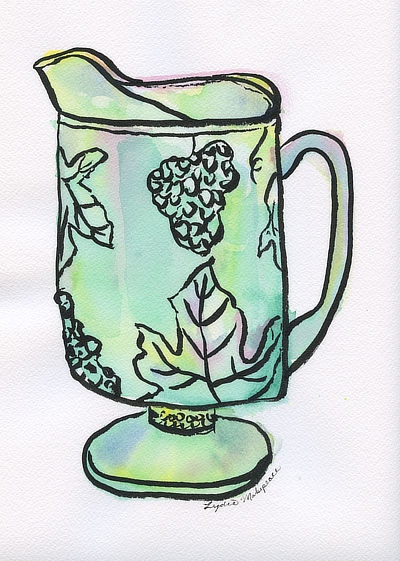
1. Scan Artwork
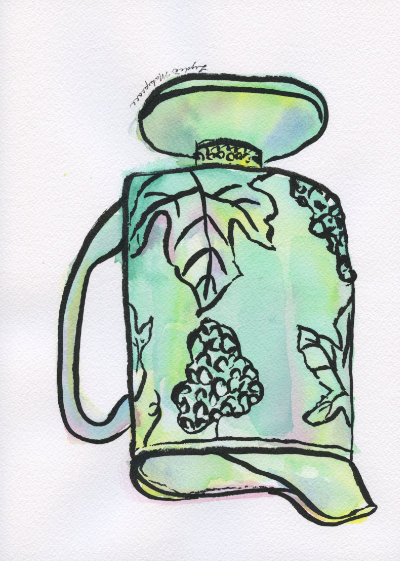
2. Rotate Art and Rescan
Turn the artwork 180 degrees and make a second scan.
3. Rotate and Align
Use a photo editing program (such as Photoshop or Affinity Photo) to rotate the second scan. Adjust the opacity of the second scan and place it as a layer on top of the first scan so that you can see and align the two scans perfectly.
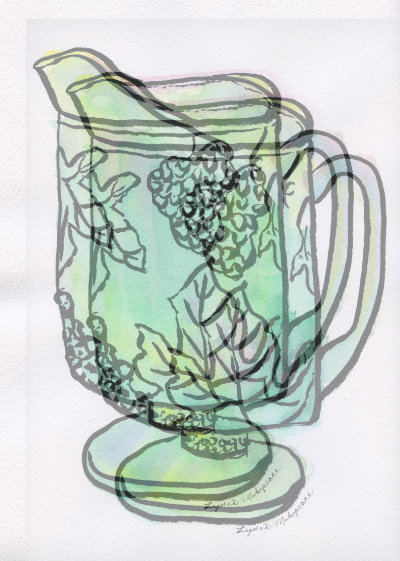
4. Reduce Opacity
To remove the paper texture reduce the opacity of the top layer to 50 percent. Whoa! Magic right?! Because you scanned the artwork from opposite directions, the shadows cast by paper texture were reversed and now cancel each other out.

This technique works best for small artwork. For large artwork that won’t fit the scanner bed you’re best off photographing the art in natural light. If you decide to scan large artwork in sections, and piece it together in a photo editing program, it would probably be easier to use various adjustments and filters to remove paper texture. But that’s a post for another day...